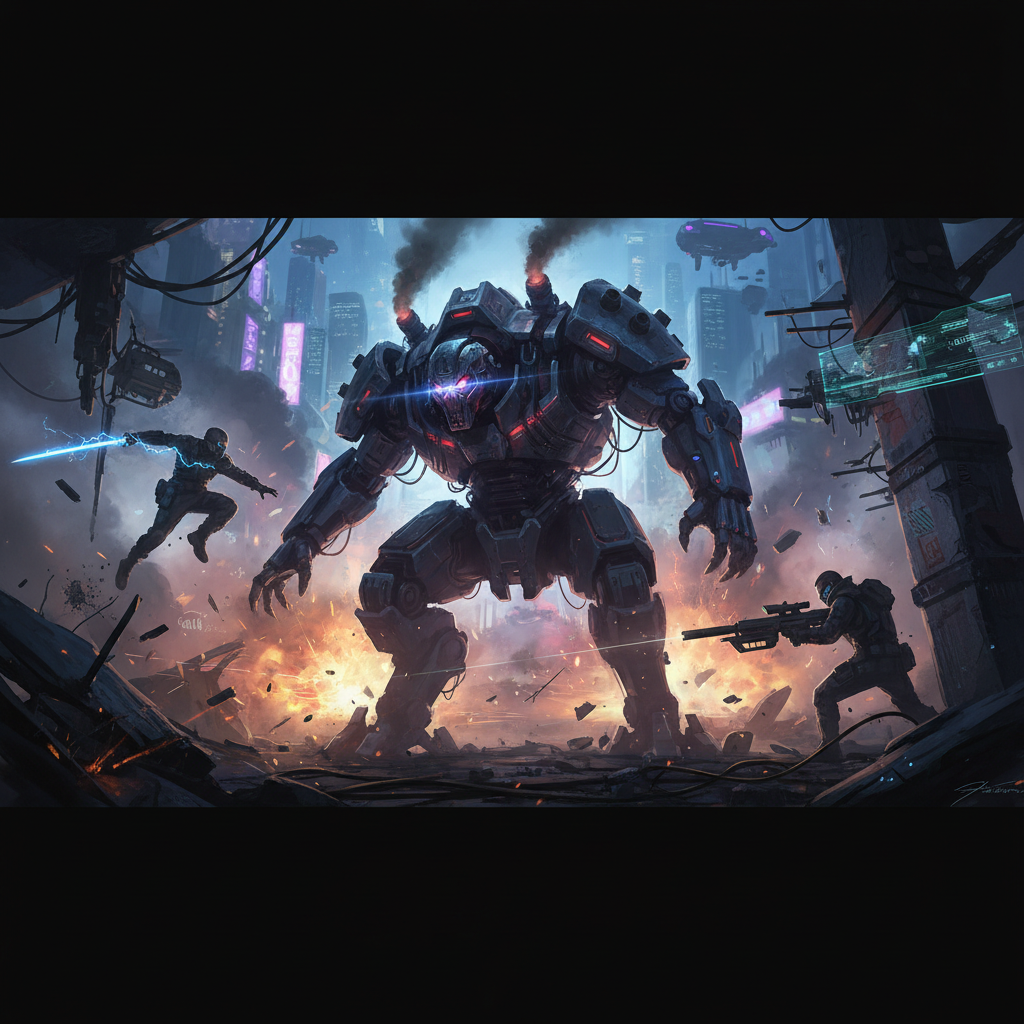
To beat Adam Smasher in the “Don’t Fear the Reaper” ending of Cyberpunk 2077, you must first unlock this secret path by making specific dialogue choices during Johnny’s questline, particularly at the Northern Oil Fields, and then waiting five minutes on the rooftop during “Nocturne OP55N1” without choosing any other option. This path leads to a challenging solo assault on Arasaka Tower with no checkpoints, culminating in a level 50 Adam Smasher fight where V’s health ceiling continuously shrinks.
Unlocking Don’t Fear the Reaper
The “Don’t Fear the Reaper” ending is a hidden path in Cyberpunk 2077 that requires precise dialogue choices rather than a specific relationship percentage with Johnny Silverhand. The foundation for this ending is laid during Johnny’s personal questline, which unfolds through a series of conversations known as “Tapeworm” after major story beats. The crucial quest that determines access to this secret ending is “Chippin’ In.”
During “Chippin’ In,” after recovering Johnny’s Porsche and Malorian pistol, he will ask you to drive to the Northern Oil Fields. This is the pivotal moment where the secret ending is either secured or lost. Engage in the conversation with Johnny and select the following specific dialogue options when prompted:
| Johnny’s Prompt | Your Choice |
|---|---|
| What would you put on his headstone? | ”The Guy who Saved My Life.” |
| He admits he’s messed up with everyone, but says he hasn’t ruined things with you | ”Nah, fucked that up too.” |
| He asks if it’s too late for a second chance | ”What do you want from me?” |
| He pleads to fix things, starting with Rogue | ”OK. But as second chances go, this is your last.” |
| Follow-up options | ”You were a real dick in the beginning." |
| "When you said you let down your friends…" | |
| "Yeah, I’ll call Rogue.” |
Selecting these exact lines demonstrates tough love and honesty, which is what Johnny needs to consider the solo assault. It is highly recommended to make a manual save before this conversation to ensure you can retry if any line is missed. Completing “Blistering Love” with Johnny and Rogue also rounds out the narrative, though “Chippin’ In” is the decisive quest for the unlock.
After correctly completing “Chippin’ In,” the final step occurs during the “Nocturne OP55N1” mission. Following your visit to Viktor’s clinic, you will find yourself on a rooftop with Johnny. Normally, this is where you choose your faction for the final assault. Instead of selecting any option immediately, choose “Think you and Rogue should go” when prompted. When Johnny asks if you are sure, do not answer. Simply wait for approximately five real-time minutes. During this silence, Johnny will interpret your hesitation as reluctance to risk your friends’ lives and propose a “suicide run” with just the two of you. A new dialogue option, “Let’s hear this plan,” will appear. Select this, then commit to the solo assault to initiate “Don’t Fear the Reaper.” Make another manual save on the rooftop before committing, as this is your last chance to prepare.
Preparing for the Suicide Run
The “Don’t Fear the Reaper” ending is arguably the most challenging path in Cyberpunk 2077. It is a solo assault on Arasaka Tower with no checkpoints and no mid-mission saves. If V dies, the game immediately cuts to black and rolls credits, with your friends reading your death as a suicide. All enemies, including Adam Smasher, are locked at level 50, regardless of your character’s current level. Furthermore, V’s health ceiling continuously shrinks as you progress deeper into Arasaka Tower, leaving less room for error. This ending is not suitable for a character with a half-finished build.
Prioritizing survivability is paramount. For Body-focused builds, the Adrenaline Rush perk tree is highly beneficial for absorbing damage. The Second Heart cyberware provides a crucial revive, offering a second chance in tough encounters. Pairing a Blood Pump with a Biomonitor ensures automatic healing, preventing you from fumbling for inhalers during intense combat.
Movement and tempo are also critical. A Sandevistan operating system, such as the Militech Apogee, allows you to slow down time, providing opportunities to line up headshots, reposition, or escape dangerous situations. This can be invaluable for managing the relentless waves of level 50 enemies and for creating openings against Adam Smasher. Ensure your weapons are fully upgraded and synergize with your chosen build, focusing on high damage output and critical hit chance. Consider bringing weapons that excel in both close-quarters and medium-range engagements, as the tower’s environments vary. Stock up on grenades and healing consumables, as every advantage will be necessary.
The Arasaka Tower Assault
The “Don’t Fear the Reaper” mission begins with V and Johnny launching a direct assault on Arasaka Tower. The primary objective is to reach Mikoshi. The path involves several distinct combat encounters that test your build and reflexes.
The initial stages involve clearing the lobby. You will face multiple groups of Arasaka security forces. These enemies are all level 50, so maintaining cover and utilizing your chosen combat style, whether stealth, close-quarters combat, or ranged attacks, is essential. After clearing the initial lobby, you need to gain access to the elevators. This usually involves defeating another wave of enemies and looting an access token from one of them.
Once you take the elevator to Mikoshi, you will navigate through more heavily guarded areas. The objectives include finding the Mikoshi Access Point, which requires clearing a control room. Expect elite Arasaka soldiers and potentially mechs or turrets in these sections. After securing the control room, you must find a way to connect Alt Cunningham to the mainframe. This involves exposing the mainframe and then physically connecting Alt. During this process, you will face continuous enemy resistance in the mainframe room. These fights are often multi-directional, so situational awareness and crowd control abilities are highly beneficial. Remember that V’s health ceiling will continue to decrease throughout these encounters, making each subsequent fight more perilous. Do not linger; move through the objectives efficiently to minimize the time spent under fire.
Defeating Adam Smasher
The final confrontation in “Don’t Fear the Reaper” is against Adam Smasher. This fight takes place in the mainframe room after you have connected Alt. Adam Smasher is a formidable opponent, locked at level 50, and will utilize his full arsenal of cyberware and weaponry.
Adam Smasher’s attack patterns typically involve powerful melee charges, ranged attacks from his arm-mounted weapons, and occasionally launching rockets. His cybernetic enhancements make him highly resistant to damage, so sustained fire on his weak points is crucial. Target his head for critical damage whenever possible. If you are using a Sandevistan, activate it to slow time, allowing you to land precise headshots or evade his charges. For those with high Body and Reflexes, dodging and weaving through his attacks while closing the distance for melee or shotgun blasts can be effective. Tech weapons that can fire through cover or Power weapons with high penetration can also be useful for dealing consistent damage.
Throughout the fight, Smasher may summon additional Arasaka operatives or turrets. Prioritize eliminating these smaller threats quickly to avoid being overwhelmed, as they can distract you and chip away at your already diminishing health. Keep moving constantly to avoid his area-of-effect attacks and charges. Utilize the environment for cover, but be aware that many objects can be destroyed. If you have any grenades or offensive quickhacks, deploy them strategically to stun Smasher or deal burst damage. The key to victory is a combination of consistent damage output, effective dodging, and managing any additional enemies he brings into the fight. After defeating Adam Smasher, you will be prompted to enter the well to return to your body, or to cross the bridge and enter Cyberspace forever, allowing Johnny Silverhand to take V’s body.
FAQ
What are the exact dialogue choices to unlock “Don’t Fear the Reaper?” During the “Chippin’ In” quest at the Northern Oil Fields, choose “The Guy who Saved My Life.”, “Nah, fucked that up too.”, “What do you want from me?”, “OK. But as second chances go, this is your last.”, “You were a real dick in the beginning.”, “When you said you let down your friends…”, and “Yeah, I’ll call Rogue.”
How do I trigger the “Don’t Fear the Reaper” mission after the dialogue choices? During “Nocturne OP55N1” on the rooftop, choose “Think you and Rogue should go.” When Johnny asks if you’re sure, do not select any option. Wait for approximately five real-time minutes until Johnny offers the solo assault plan, then select “Let’s hear this plan.”
Are there any checkpoints or saves during “Don’t Fear the Reaper?” No, there are no checkpoints or mid-mission saves during the entire “Don’t Fear the Reaper” assault on Arasaka Tower. If V dies at any point, the game ends and rolls credits.
What level are enemies in “Don’t Fear the Reaper?” All enemies, including Adam Smasher, are locked at level 50, regardless of V’s current character level.
Does V’s health change during “Don’t Fear the Reaper?” Yes, V’s maximum health ceiling continuously shrinks as you progress deeper into Arasaka Tower during the mission, making it increasingly challenging.